Kitchenware with a Reservoir
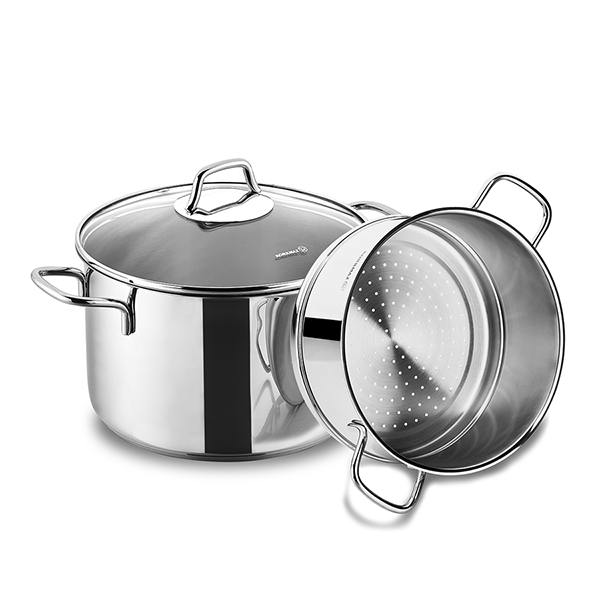
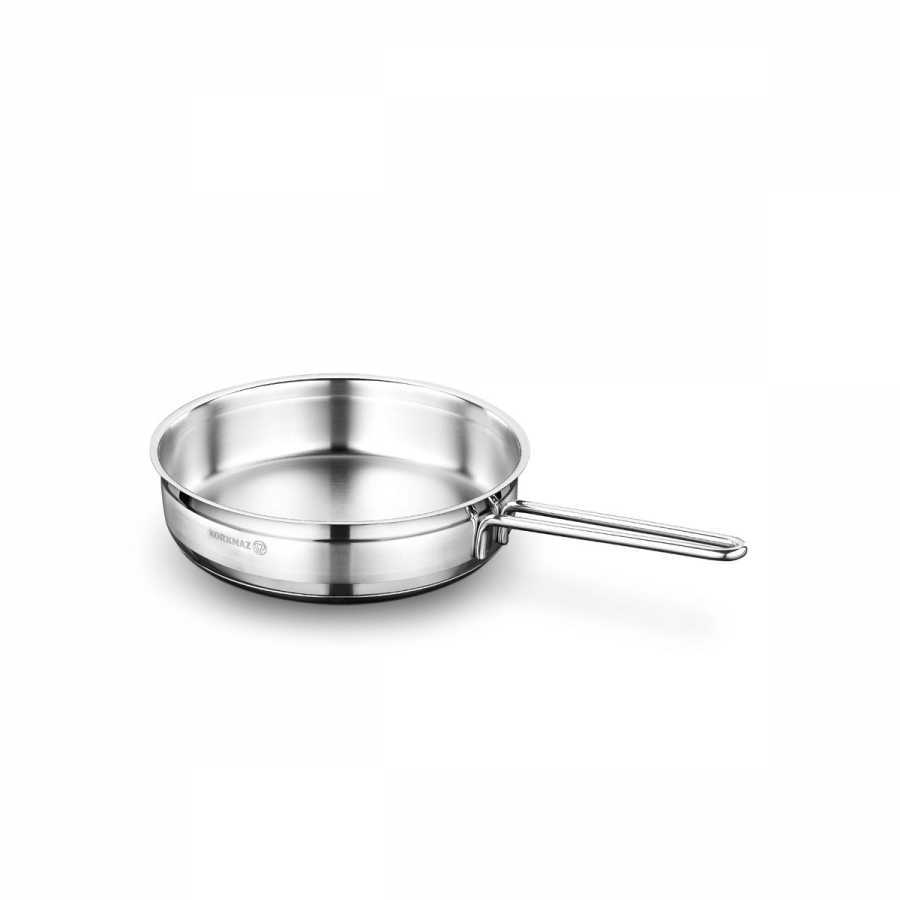
One of the end-user products in which stainless steel is used as a raw material in high quantities is products in which food is cooked such as pots, pans, etc. As can be seen from the image of the product, the material is produced through a deep drawing and/or drawing process.
Primarily, stainless steel is cut in the form of a sheet, disc, or strip. Then, the workpiece is put into the press to shape it by lubricating/soaping. At a certain force and speed, the male die pushes the workpiece towards the female die (this system may vary according to the technology) and thus, enables the workpiece to take the shape of the die cavity.
Press forming and sandblasting, etching, polishing (general polishing processes) depends on the raw material as much as the conditions of the facility. The major problem here is sandblasting/orange peeling or distortion and tearing after pressing. If the press die is maintained regularly, the appropriate lubrication solution is used and the press speed/tonnage is adjusted properly, the defect is sought in the raw material in the case of orange peeling or distortion.
Problems that you may encounter
This defect arises from the inhomogeneity or insufficient solution annealing of the raw material after cold rolling. Likewise, it may be caused by the wrong selection of Skinpass-Temperature process parameters after solution annealing at little chance. If the raw material is cut by laser and if the disc cut in certain sections of the roll remains flat after cutting while some of it bends into itself, the problem is sought in solution annealing after cold rolling. These are the issues that will not be included in the analysis certificate or any datasheet about the material. If a mechanical cutting is done, the probability of detecting this error at the entry is very low.
Although this defect is more complex, its solution is simple but costly. The root cause is that the grain size and center grain size of the stainless-steel plate is different and its surface grains are larger than the center. It specifically manifests itself after excessive annealing or insufficient Skinpass-Temperature. One of the most common mistakes made here is that the fact that the material is DDQ will prevent orange peeling. The orange peeling would not have anything to do with elongation. Likewise, in the stainless steel with high Ni marketed as DDQ material, it is thought that the defect will not arise, but this is not true. It is supposed to be so since Ni prevents the formation of Chromium Carbide compounds in the stainless steel and their precipitation to the grain boundary prevents the surface diffusion. However, although Ni is the main austenite-forming element in stainless steel, it is not the sole element. The important point is the ratio of austenite-forming elements to ferrite-forming elements. As we always emphasize, the property of stainless steel is simply understood from elongation, hardness, etc. and it requires a holistic approach.
If you have to use the raw material you have in some way, the solution is to polish a lot until the orange peeling effect disappears.
This defect can be regarded as the effect of the orange peeling defect. Its reason is generally insufficient annealing or insufficient refining from the production of stainless steel from ore. Specifically, if there is a high amount of carbide, sulfur, or phosphorus inside it, the metal-nonmetal compounds embrittle the material and break/tear under pressure. It is seen in a small number of workpieces in a roll due to the impurity remaining inside, but if there is a greater number when processing the majority of the roll and the press has difficulty in pressing the workpiece, it arises from insufficient annealing. It is a situation that can be seen directly from the elongation section on the certificate of analysis. You must determine the elongation ratio you want for products that are subject to extreme stress, such as pots or coffee pots that you will produce, and request that amount of elongation from the supplier as a minimum. It is not a defect that can be seen in pans and pots with a partially lower depth. The important point is the ratio of the bottom diameter of the pot to the length of the pot.
If you have to use the hard raw material in some way, you can partially solve the problem by heating the dies before the process or by reducing the pressing velocity.
When the material is taken out of the press after deep drawing, the distance of the upper ring to the edge is not equal everywhere. It is not a very critical error. It is usually caused by insufficient heat treatment in the material. It can be interpreted with the result ratios of the tensile test conducted on the material in different directions. To illustrate, if the tensile strength of the raw material to the rolling direction is 100 Mpa and the tensile strength perpendicular to the rolling direction is 120 Mpa, this means that there is a 20% difference and the higher this difference, the higher the probability of earing. It cannot be understood by any value in the certificate of analysis, and it is not directly related to the elongation, hardness, etc. and especially, the above ratio must be requested from the supplier. It is not mandatory to provide this ratio legally and according to international standards.
It is a defect that occurs specifically in ferritic stainless steel. Insufficient heat treatment has resulted from excessive grain growth and insufficient Skipass-Tempering. In ferritic stainless steel plate production, a cup test must be done after tempering and if there is no problem on the surface, the material must be approved. The pot manufacturers can also conduct this test as an input control to the raw material they receive. The cup test also gives an idea about earing. It can be considered as a small-scale preliminary test, similar to pressing pots at the press.
Fork, Spoon, Knife Utensils
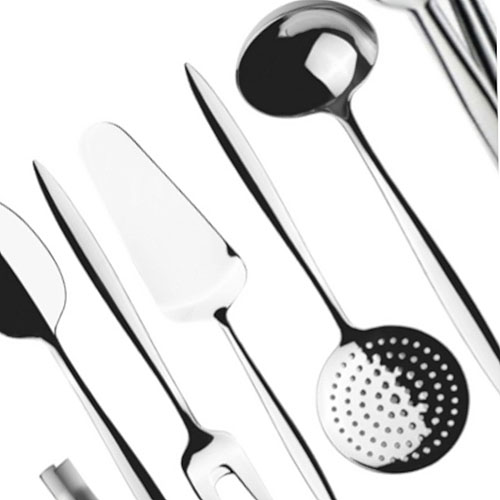
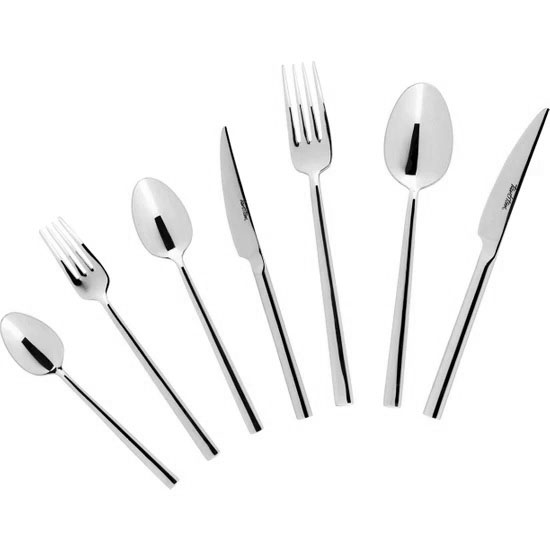
One of the end-user products in which stainless steel is used as a thick raw material in high quantities is forks, knives, home kitchen utensils coming in contact with food. Although there are no processes such as deep drawing in the material, there are cutting, rolling, welding, and polishing of the handle and head in some ladles in question.
Primarily, it is cut or supplied as a stainless-steel plate or strip. Then, it is shaped by cutting with its outlines in the cutting die. Since these dies are generally eccentric, they cut the material by hitting. Then, the head section, which will be a fork, knife, or spoon, is rolled. As the final process, surface polishing and/or patterning is conducted.
If there is no defect in the cutting die and the die cavity has been adjusted properly and if the die impact velocity is according to the material thickness and the die material, the defects that occur in the raw material are checked.
Problems that you may encounter
It is a defect similar to the one in the pot, but it is directly related to the material since there is no deep drawing process. In cutlery production, this defect occurs after polishing. Therefore, it is recommended to check the input and determine it with sampling as it manifests itself in the last stage of the process, not in the previous stages.
The root cause is that the grain size and center grain size of the stainless-steel plate is different and its surface grains are larger than the center. It specifically manifests itself after excessive annealing or insufficient Skinpass-Temperature. One of the most common mistakes made here is that the fact that the material is DDQ will prevent orange peeling. The orange peeling would not have anything to do with elongation. Likewise, in the stainless steel with high Ni marketed as DDQ material, it is thought that the defect will not arise, but this is not true. It is supposed to be so since Ni prevents the formation of Chromium Carbide compounds in the stainless steel and their precipitation to the grain boundary prevents the surface diffusion. However, although Ni is the main austenite-forming element in stainless steel, it is not the sole element. The important point is the ratio of austenite-forming elements to ferrite-forming elements. As we always put emphasis, the property of stainless steel is simply understood from elongation, hardness, etc. and it requires a holistic approach.
If you have to use the raw material you have in some way, the solution is to polish a lot until the orange peeling effect disappears. You must inform the supplier in the specification concerning that this is not desired.
It is a defect caused by excessive annealing of the raw material. If the received material is exposed to the solution annealing process unduly or the skinpass-tempering is insufficient after cold rolling, the material will begin to be plastered on the edges of the cutting die.
It is a defect caused by insufficient annealing of the raw material. The hardness of the material specified in the analysis certificate is a primary indicator. Although the processes of each cutlery manufacturer are the same, you must determine the maximum hardness according to your production and notify the supplier of this in the raw material specification since the machines and production conditions will be different. Therefore, the exact hardness value cannot be given in this regard, each factory should determine this according to the thickness and alloy.
It is the errors caused by the wrong parameters of the leveler rollers or the slitting line while the material is being cut to length, slitting the strip. Such defects can be eliminated by excessive polishing to a certain depth, but when it is too deep, this makes the material not suitable for the production of knives and forks.
Thermos
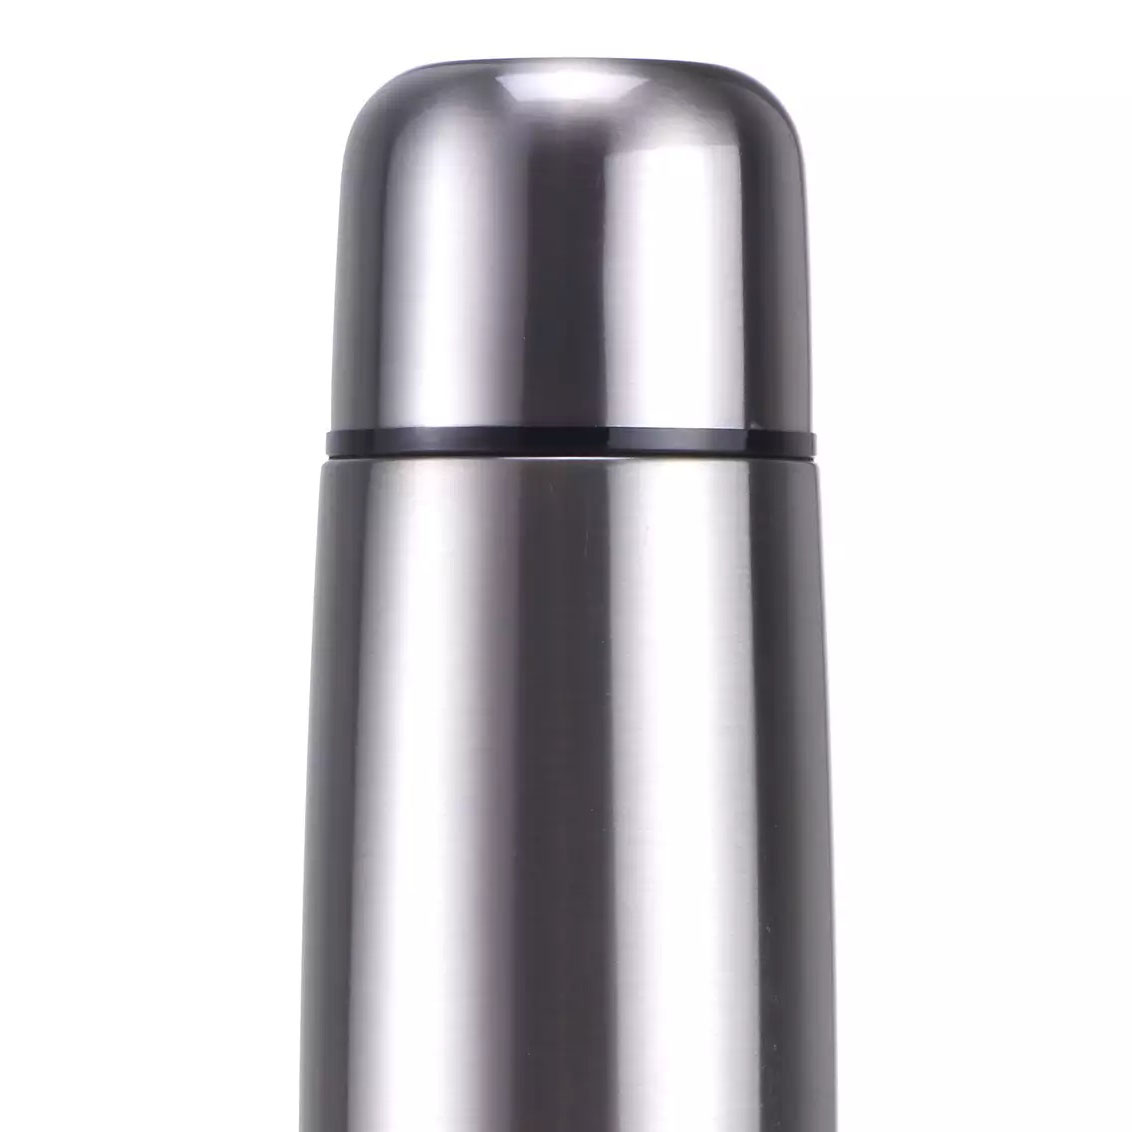
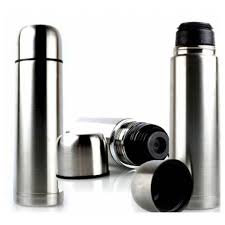
A thermos is a receptacle in which beverages that are desired to be kept hot or cold for a long time are put. According to food compliance regulations, its interior part that contacts the beverages must be made of austenitic stainless steel.
Here, the points that must be paid attention to in raw materials are as follows:
- The materials must have mechanical properties suitable for welding.
- The materials (specifically the inner wall) must be food compatible.
- There must not be burrs, etc. on the strips that will adversely affect the welding. There must be no impureness.
- The materials must have mechanical properties that will not break or subside in the choking process. Here, the DDQ feature is directly desired and inspected over the elongation value in the analysis certificate.
- No process may cause an adverse situation regarding orange peeling.
The first point to be considered is that the edge burrs and fractures of the strips must be minimal as it will cause difficulties during welding or an invisible error in welding will become a problem in subsequent shaping and sealing tests if there are burrs densely in the material.
In the same way, the strips must be DDQ, otherwise, distortion/distortion may occur during choking.
Sink
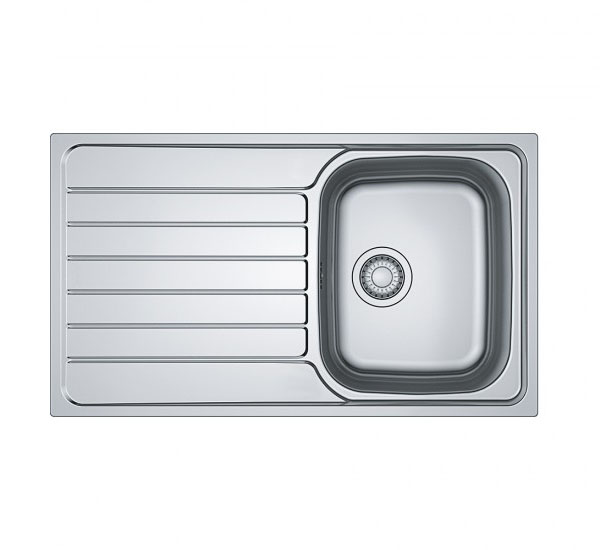
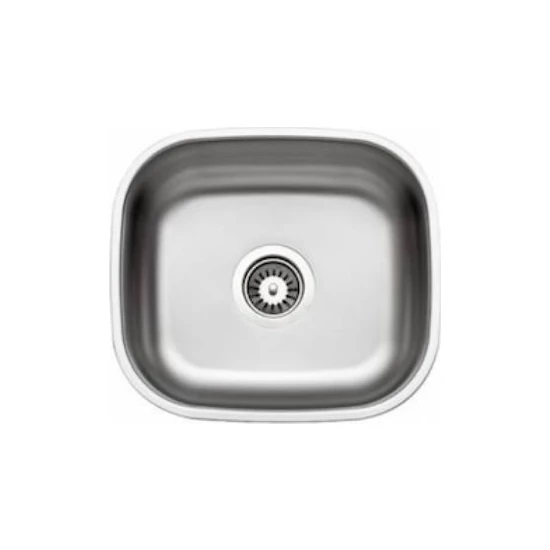
The production steps are very similar to the pot, but the material is exposed to different tensile forces and reveals different defects since the deep drawing/spinning geometry is angular rather than round. An intermediate annealing process is applied in most sink productions, specifically as the product is made in complex geometries. Therefore, the orange peeling of the raw material is not as important as in the pot. The defects such as tearing, wrinkling, or earing may occur.
Problems that you may encounter
It occurs due to insufficient annealing or excessive annealing of the raw material or impurities from casting. Taking the material as DDQ will prevent this error. Especially for austenitic stainless steel, it is recommended to take a material with a minimum elongation of 55%.
If this defect occurs even though the die cavity of the material is adjusted properly, it arises from not applying the annealing the material equally in every area. It can be interpreted with the result ratios of the tensile test conducted on the material in different directions. To illustrate, if the tensile strength of the raw material to the rolling direction is 100 Mpa and the tensile strength perpendicular to the rolling direction is 120 Mpa, this means that there is a 20% difference and the higher this difference, the higher the probability of earing. It cannot be understood by any value in the certificate of analysis, and it is not directly related to the elongation, hardness, etc. and especially, the above ratio must be requested from the supplier. It is not mandatory to provide this ratio legally and according to international standards.
It is one of the raw material-related defects similar to wrinkling. When the material is taken out of the press after deep drawing, the distance of the upper ring to the edge is not equal everywhere. It is not a very critical error. It is usually caused by insufficient heat treatment in the material. It can be interpreted with the result ratios of the tensile test conducted on the material in different directions. To illustrate, if the tensile strength of the raw material to the rolling direction is 100 Mpa and the tensile strength perpendicular to the rolling direction is 120 Mpa, this means that there is a 20% difference and the higher this difference, the higher the probability of earing. It cannot be understood by any value in the certificate of analysis, and it is not directly related to the elongation, hardness, etc. and especially, the above ratio must be requested from the supplier. It is not mandatory to provide this ratio legally and according to international standards.
Pipe
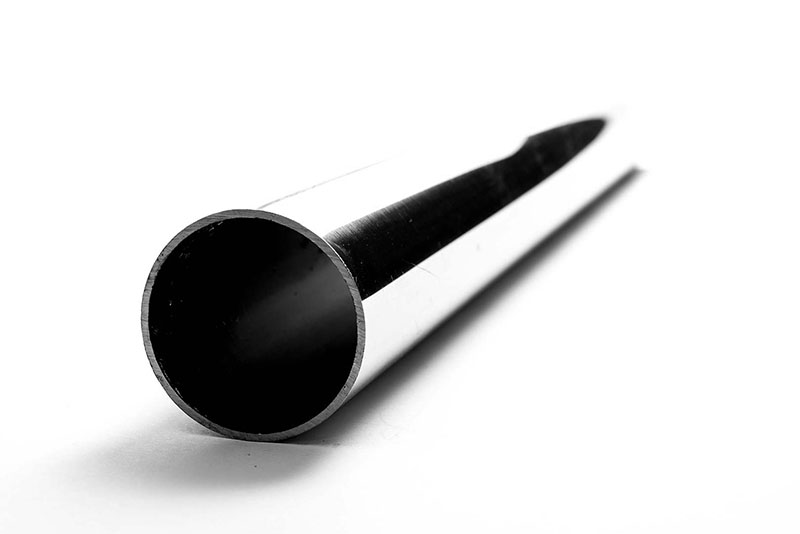
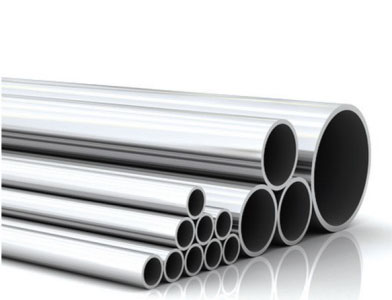
It is like the first section of thermos production. After the strip materials are rolled, they are subjected to a continuous welding process. Then, the final pipe is produced by polishing.
Problems that you may encounter
The burr formation on the edges of the sliced sections negatively affects the junction of the weld area and thus, causes insufficient weld or excessive use of weld filling material. Furthermore, it is necessary to determine the maximum burr length/material thickness ratio and specify this in its specification since the process conditions of each pipe manufacturer will differ in particular. If material is requested from the supplier in this manner, the problem will be reduced.
It is a fact that the edge of the strips is not roughly isotropic. The welding is insufficient when the weld sides do not overlap fully following the roll form. The conditions specified in TS-EN 9445-2 may not be sufficient for you. For this reason, you may need to inform your supplier about the maximum wavelength.
Pump
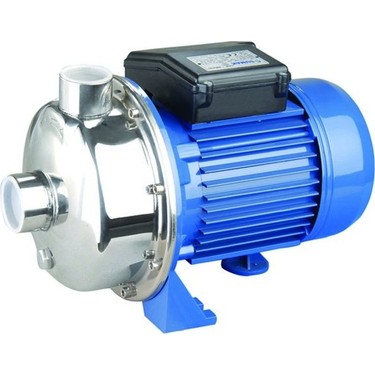
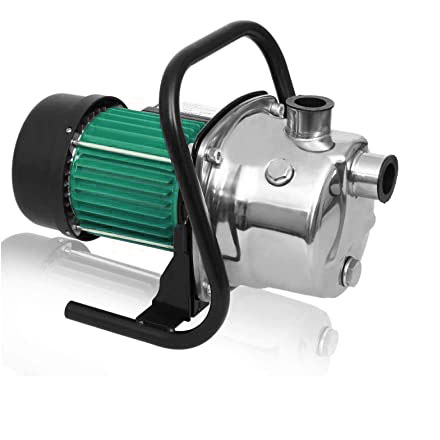
The parts where defects can occur are the same as the production of pot. In addition, edge burrs are not desired in the discs.
Problems that you may encounter
It occurs due to insufficient annealing or excessive annealing of the raw material or impurities from casting. Taking the material as DDQ will prevent this error. Especially for austenitic stainless steel, it is recommended to take a material with a minimum elongation of 55%.
If this defect occurs even though the die cavity of the material is adjusted properly, it arises from not applying the annealing the material equally in every area. It can be interpreted with the result ratios of the tensile test conducted on the material in different directions. To illustrate, if the tensile strength of the raw material to the rolling direction is 100 Mpa and the tensile strength perpendicular to the rolling direction is 120 Mpa, this means that there is a 20% difference and the higher this difference, the higher the probability of earing. It cannot be understood by any value in the certificate of analysis, and it is not directly related to the elongation, hardness, etc. and especially, the above ratio must be requested from the supplier. It is not mandatory to provide this ratio legally and according to international standards.
It is one of the raw material-related defects similar to wrinkling. When the material is taken out of the press after deep drawing, the distance of the upper ring to the edge is not equal everywhere. It is not a very critical error. It is usually caused by insufficient heat treatment in the material. It can be interpreted with the result ratios of the tensile test conducted on the material in different directions. To illustrate, if the tensile strength of the raw material to the rolling direction is 100 Mpa and the tensile strength perpendicular to the rolling direction is 120 Mpa, this means that there is a 20% difference and the higher this difference, the higher the probability of earing. It cannot be understood by any value in the certificate of analysis, and it is not directly related to the elongation, hardness, etc. and especially, the above ratio must be requested from the supplier. It is not mandatory to provide this ratio legally and according to international standards.
Requirements for Final Product Processes
- Deep Drawing
The material must have min. 55% elongation and have DDQ properties. Any orange peeling is undesirable. The material must not have insufficient heat treatment or excessive annealing/grain growth. The material must be homogeneously annealed. Any distortion/tearing/wavering is not desired after deep drawing.
- Welding
There must be no burrs in the area to be welded, its geometry must be smooth, and it must not be wavy.
- Disc Cutting
There must not be insufficient heat treatment in the material, and the material must not be brittle. Its edges must be burr-free.
- Polishing
Mechanical, metallurgical, or visual surface defects such as orange peeling, residuals of casting, scratches, deep scrapes, sunken, water stains, oil stains, etc. are undesirable in the raw material surface.


